In this guide
You will need
- A pocket sketchbook and a pencil
- Two or three marker pens in different widths
- One object you can see from where you work
- Ten minutes a day for seven days
- A small print block, for the last step only
Most of us look at an object long enough to recognize it and no longer. This guide is about looking past that point. Drawing one thing at the same time each day for a week teaches you to separate what the object is from what the light is doing to it. Every other guide in this section builds on that skill.
Choose one object you can see every day
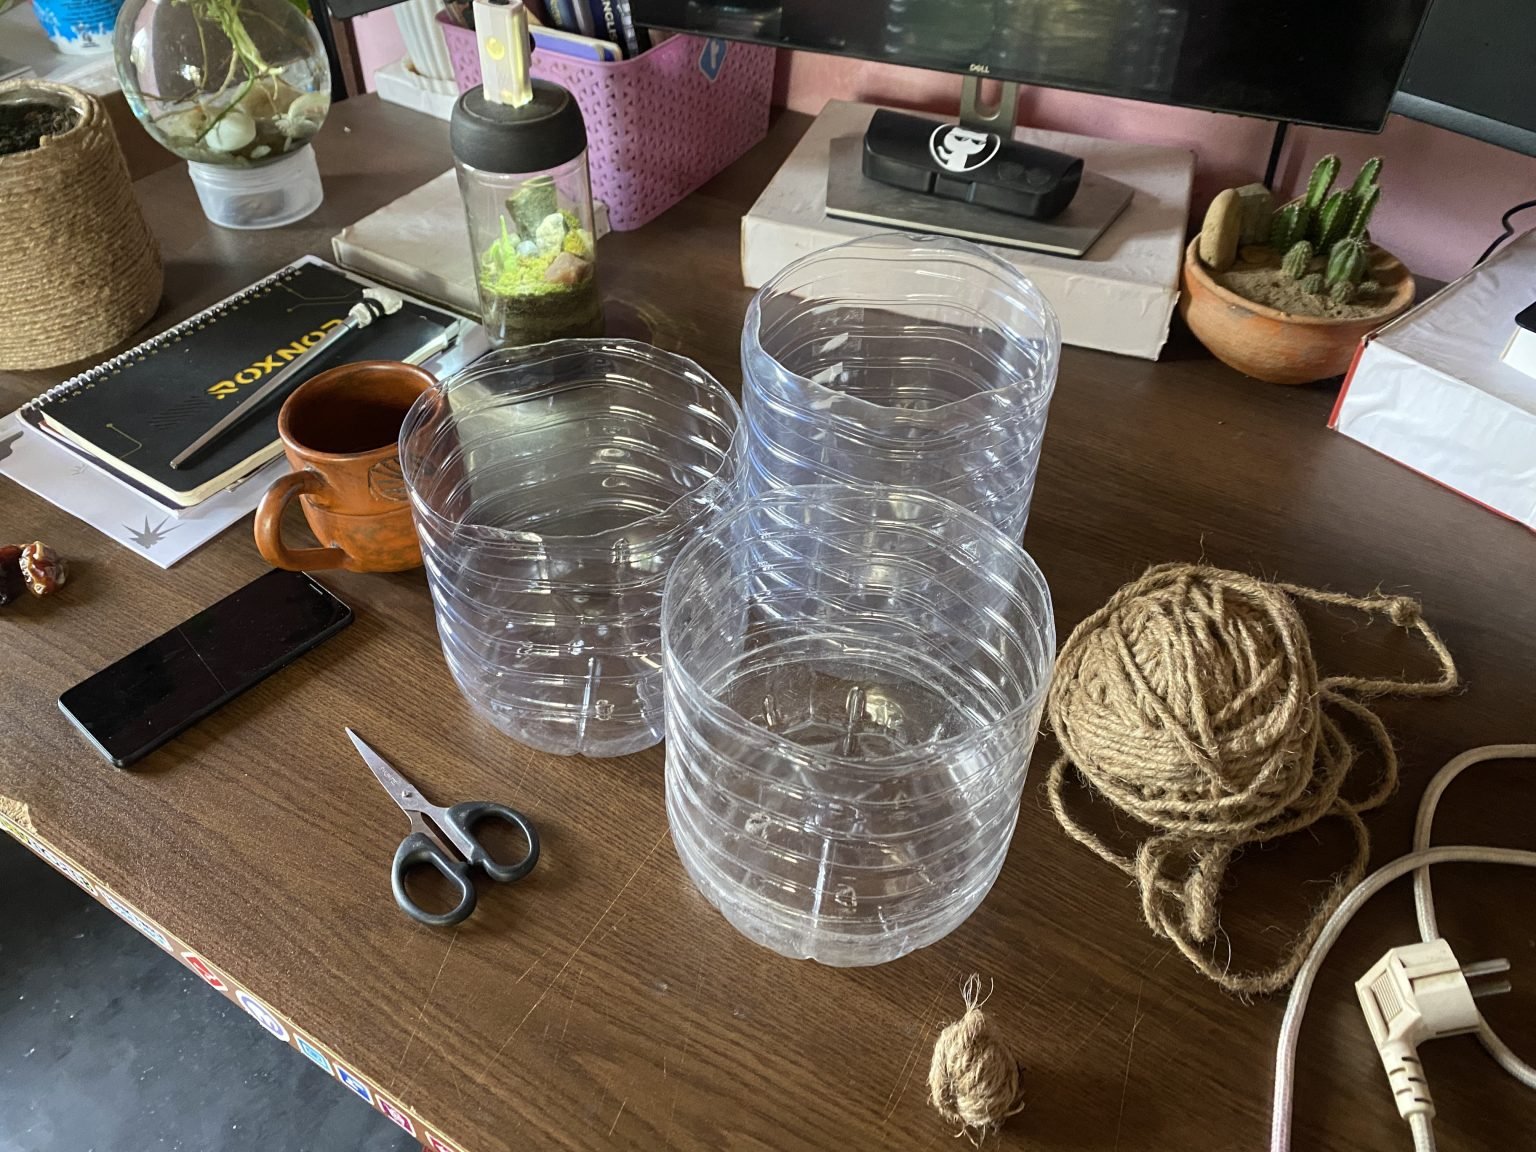
Pick something that will stay put for a week: a pair of scissors, a mug, a ball of twine, a plant on the windowsill. It should have at least one clear edge and one surface that catches the light.
Leave it where it is. Mark its position with a pencil line or a strip of tape, so you can put it back if someone uses it.
Draw at the same time each day
Choose a time you can keep, even if it is not the best light of the day. Consistency is the point. When the time stays fixed, any change you see comes from the weather and the season rather than the clock.
Write down three things
Beside each drawing, write one line for each of these:
- Outline. What is the simplest shape that contains the object?
- Light. Which side is lit, and are the shadow edges crisp or soft?
- Detail. One thing you had not noticed the day before.
Stop at ten minutes, even mid-line. One short drawing a day keeps the comparison honest.
Draw it once in different light
On day five or six, draw the object a second time at a different hour, or under a desk lamp after dark, and write the same three lines. Light from one side makes edges and texture easier to read. Seeing that on an object you now know well makes the difference obvious.
Take the best drawing onto a block
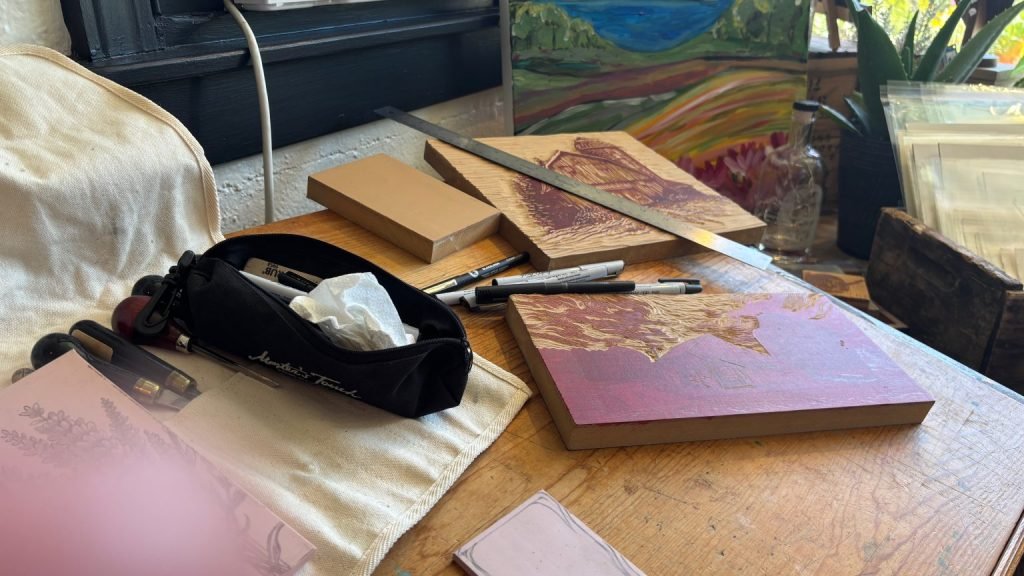
Lay the week’s drawings side by side and choose the clearest one, not the prettiest. Redraw its main lines on a print block with a marker, then fill in every area that should print solid. Whatever you leave bare is what gets cut away. The blocks at the top of this guide show the stage to aim for: the scene is on the wood and clear enough to work from.
A relief print comes out reversed, so trace any lettering backwards. Keep the sketchbook page with the block; the next guides refer back to both.