In this guide
You will need
- A camera or phone
- A clear table, floor or patch of grass to lay things out on
- Twenty minutes in steady light
A set of tools is patient. It stays still while you work out what makes each piece look the way it does, which makes it ideal reference for shape, proportion and how light falls across metal and wood. The same pictures double as an inventory.
Photograph the whole, then the part
Take one frame that shows everything together, even if it is not beautiful: the whole desk, or every tool in a row. It is the map for every detail you photograph afterwards.
Hold the camera square
Hold the camera parallel to the surface: directly above a table, or level with a wall of hooks. Angled shots make handles look shorter and blades wider than they are, which matters when you draw from the picture later.
Pick one object and follow it
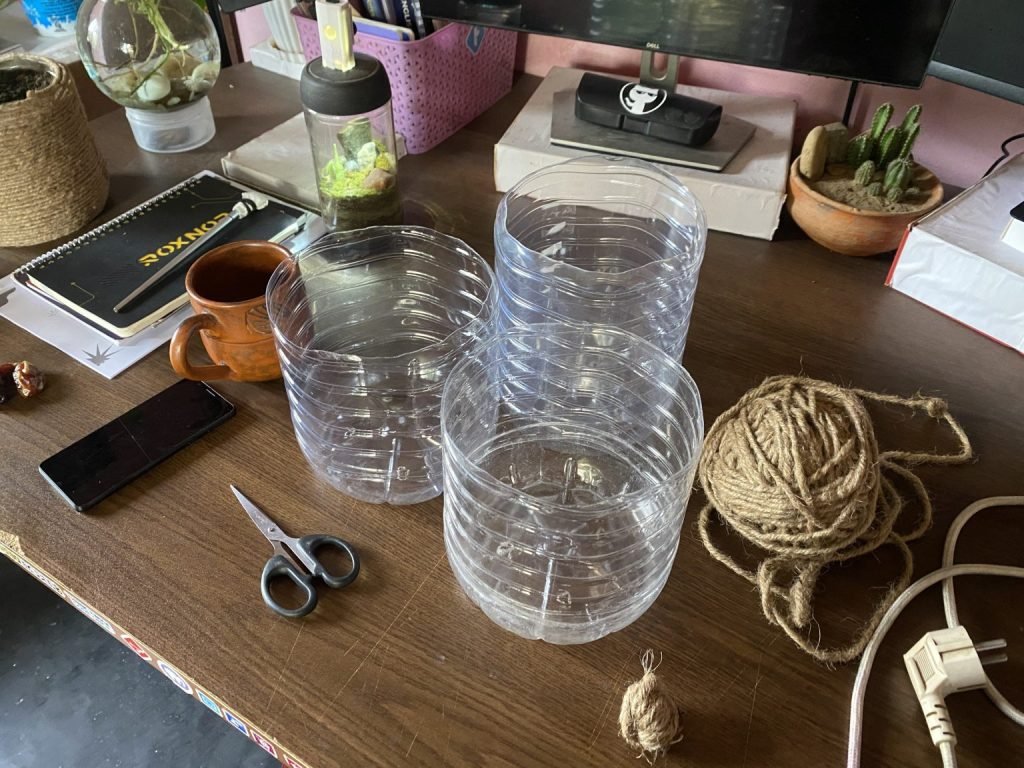
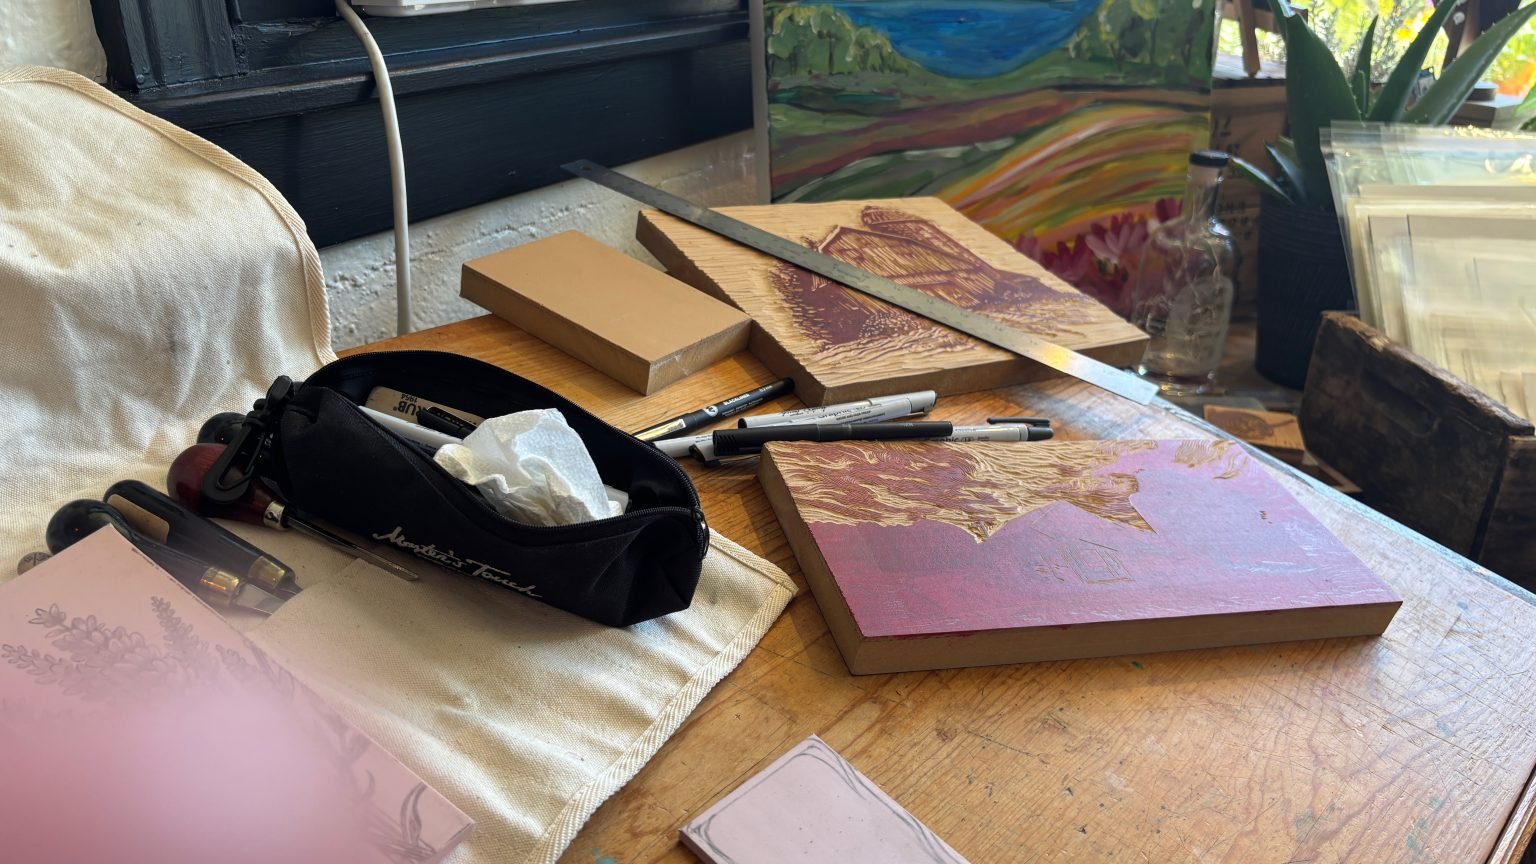
Choose a single object, such as a pair of scissors, a print block or a ball of twine, and photograph it three times in different light or from different distances. Three frames of one thing teach more than thirty of everything.
Label before you forget
Name the files with the object and the view, for example print-blocks_pens_close.jpg, and file them under Objects, as described in the reference library guide.